Last updated November 21, 2026
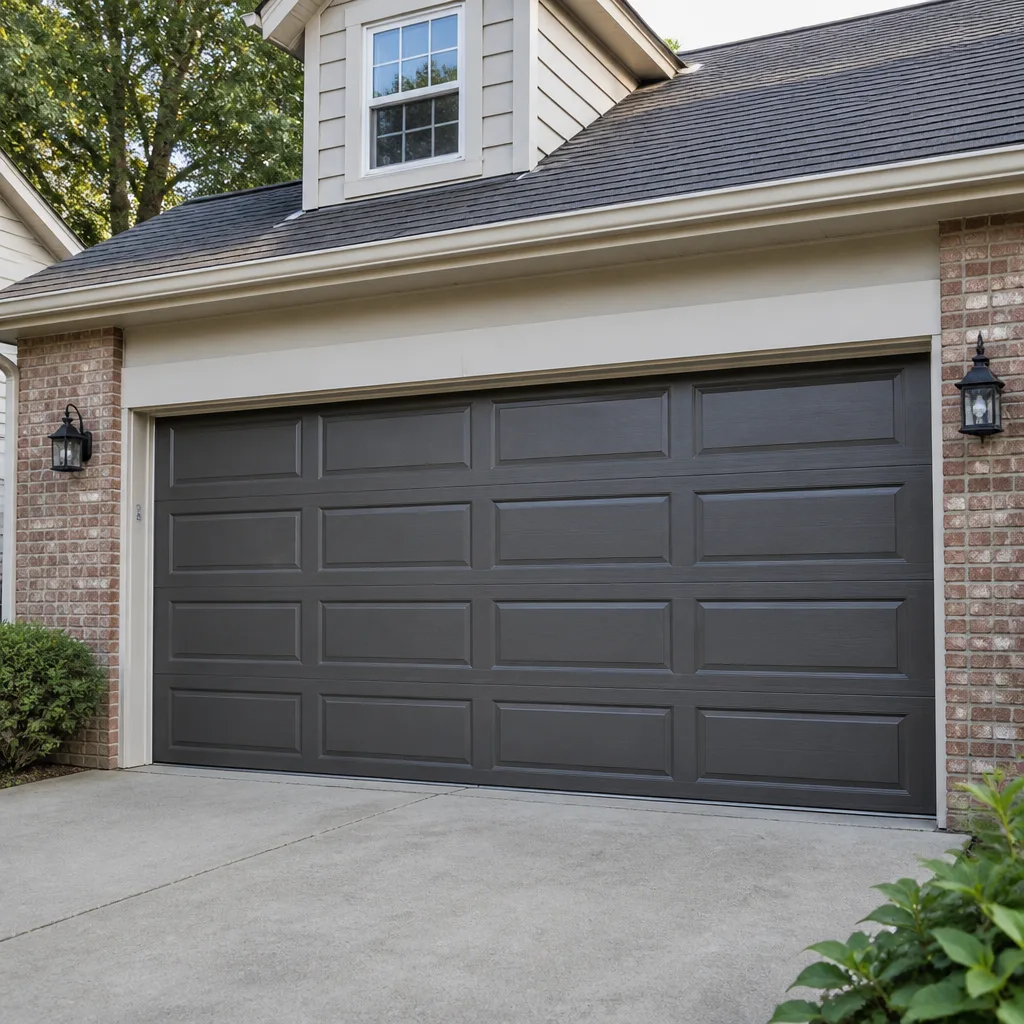 Raised-panel steel
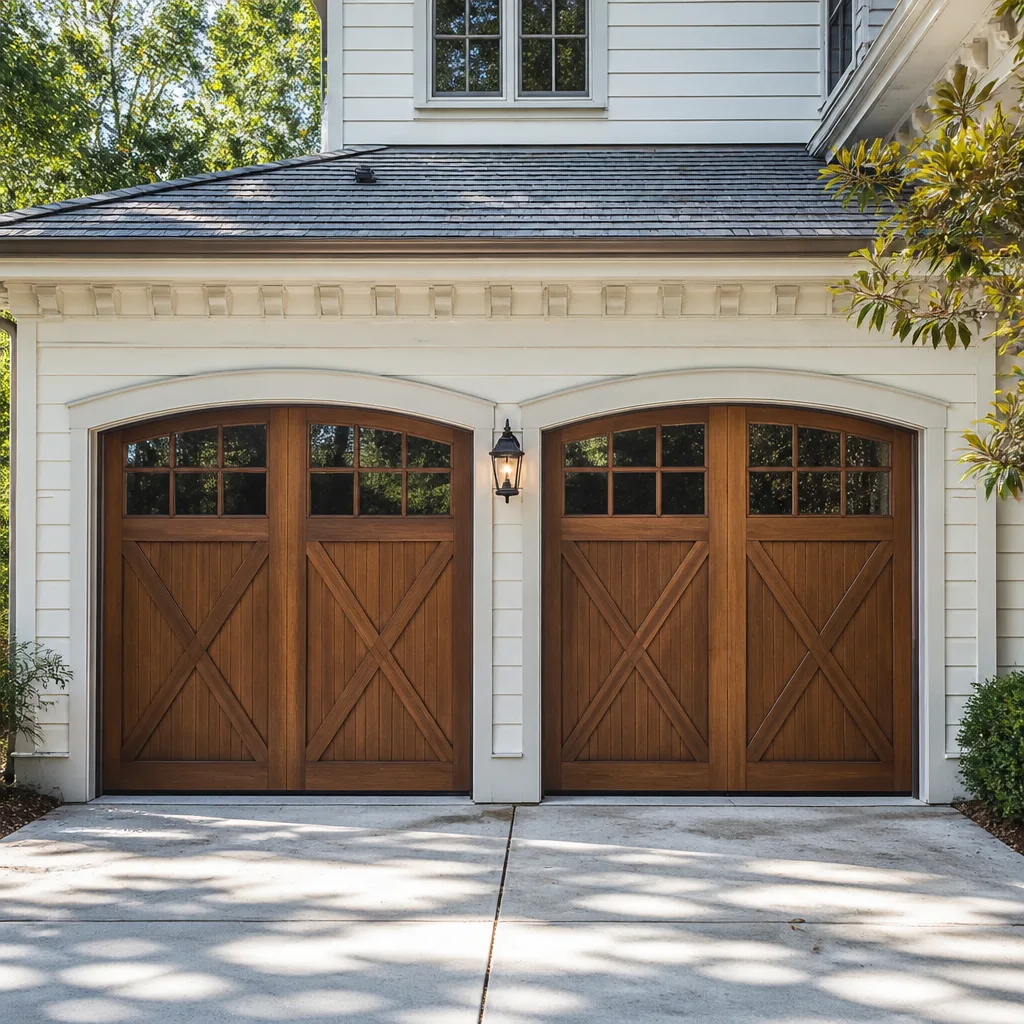 Carriage house
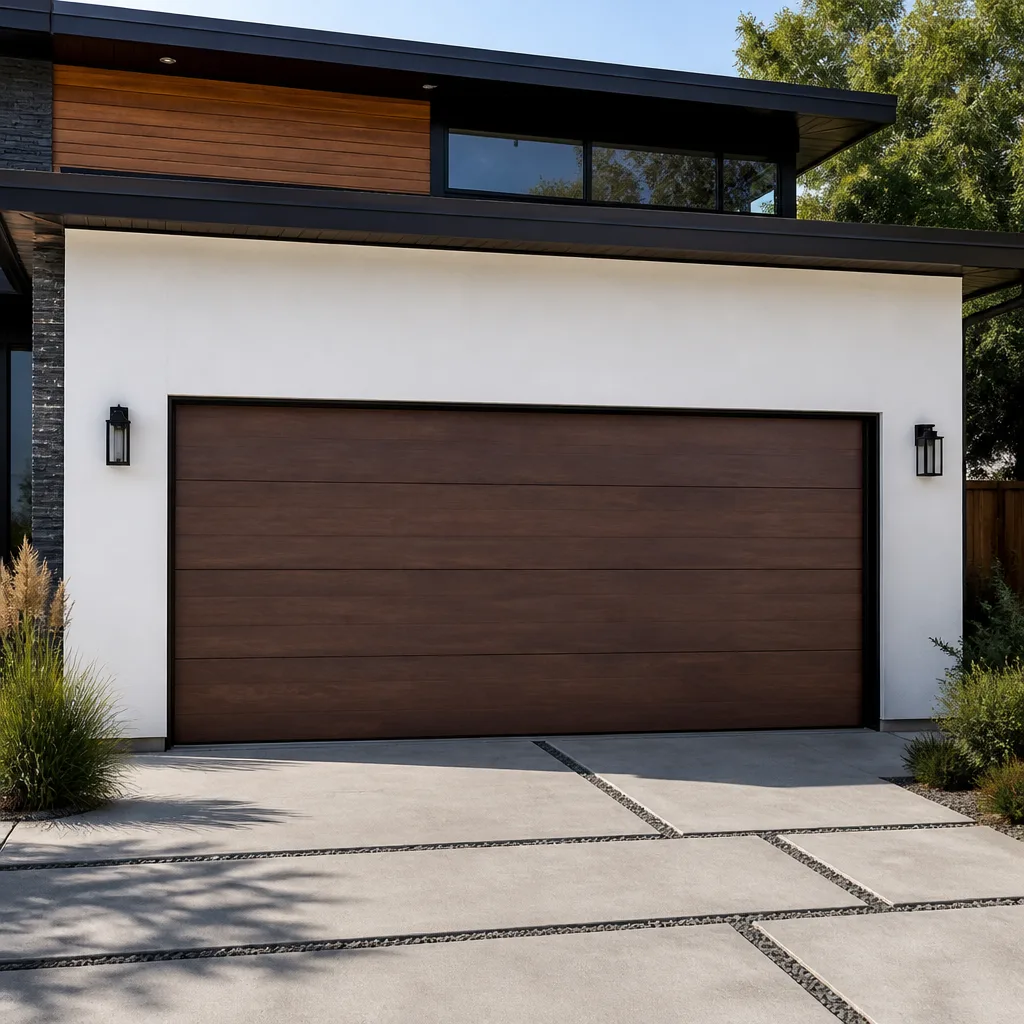 Modern flush
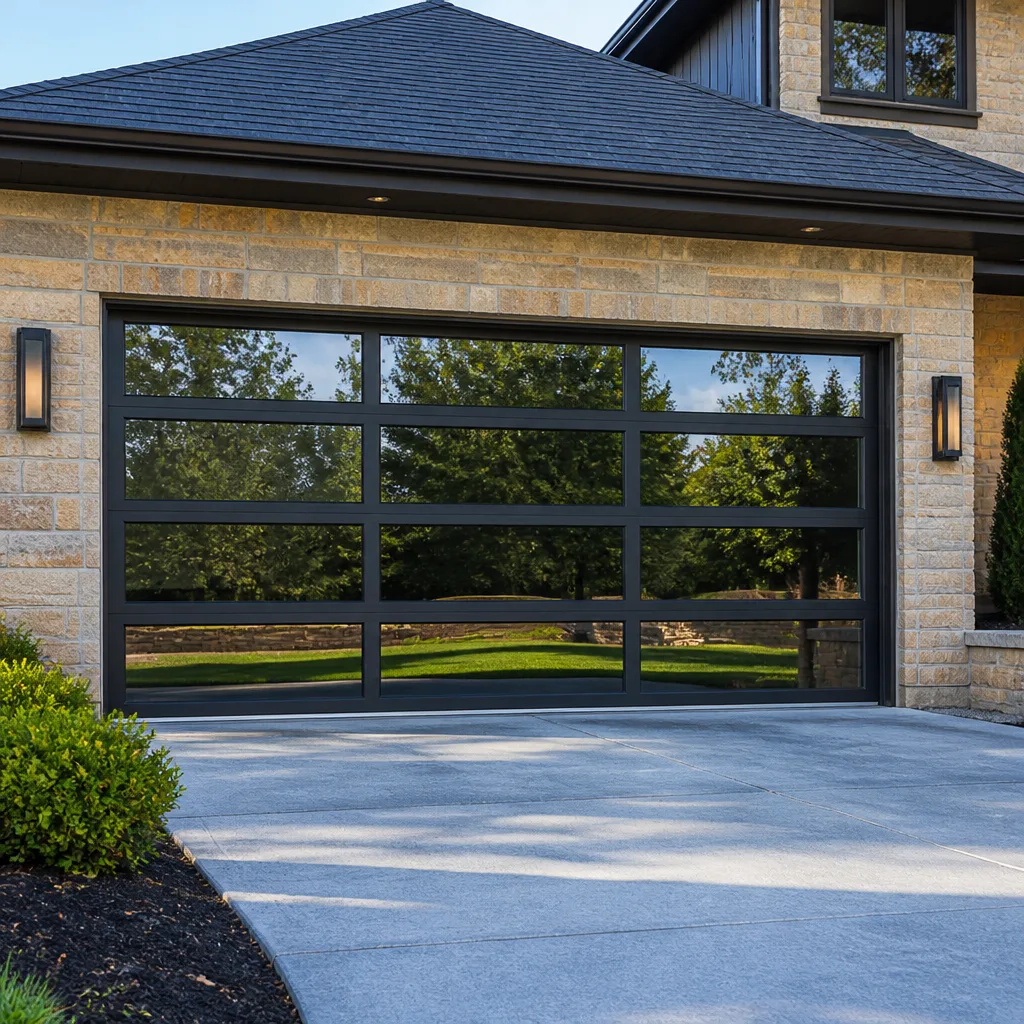 Full-view glass
 LiftMaster openers
 Chamberlain openers
Full 25-point door and opener safety check with every visit - springs, cables, rollers, tracks, and your LiftMaster or Chamberlain opener included
You get a price before we start. It does not change when the pro arrives.
Get your free estimateGarage Door Repair Maintenance Checklist for Richmond Homeowners
Most garage door checklists you’ll find online are sorted by what’s easy to write about, not by what actually breaks. That order is backwards. In our experience across Richmond, the calls that come in as emergencies almost always trace back to one of three neglected points: the springs, the cables and rollers, or the weatherseal that quietly lets summer humidity and winter freeze-thaw into the tracks. None of those sit at the top of the average list. This guide is built backward from the failures we actually see, so you spend your maintenance time where it prevents the most trouble. You’ll learn which checks to run monthly, which to run twice a year, and which to hand to a technician.
Quick Answer
A solid garage door maintenance routine for a Richmond home has three layers: a monthly visual and balance check, a biannual lubrication and hardware tightening, and an annual full inspection. The highest-value checks are the door balance test, spring and cable inspection, roller condition, and weatherseal condition, because those four catch the failures that turn into emergency calls here.
Styles & brands we work with
- Raised-panel steel
- Carriage house
- Modern flush
- Full-view glass
- LiftMaster openers
- Chamberlain openers
Table of Contents
- Why Most Checklists Have the Order Wrong
- The Monthly Checks That Take Under Ten Minutes
- How to Do the Door Balance Test (and What It Tells You)
- Lubrication in Richmond Humidity: What Works and What Doesn’t
- Cable and Roller Inspection Without Tools
- Weatherseal and the Freeze-Thaw Cycle
- A Realistic Maintenance Schedule
- Opener Care for Smart and Legacy Systems
Why Most Checklists Have the Order Wrong
Walk into a garage in the Fan or Museum District, and you’re usually looking at a door that’s older than the car parked under it. The houses are old, the doors have been replaced once or twice, and the opener might be anything from a fifteen-year-old Craftsman to a newer Genie with a battery backup. A flat checklist that treats every door the same misses that reality. Richmond’s humidity and its freeze-thaw swings do different damage than a dry climate would, and the parts that suffer first are predictable.
Here’s the reframe. Instead of asking “what should I check?”, ask “what fails first, and what does that failure cost me?” A dirty safety eye doesn’t fail dramatically, but it stops the door from closing. A worn cable fails suddenly and can drop a door. A stiff spring doesn’t announce itself, it just gets harder to lift until one day it snaps. Triage means putting the cheap, high-consequence checks at the top of your list and the cosmetic ones at the bottom.
We’ve had technicians work on garage doors for up to 13 years, and the pattern holds across every brand we service. Richmond Garage Door Repair Co works on the equipment already in your garage, which means the maintenance advice doesn’t depend on which manufacturer built the door. Repair first, replace only when it makes sense. That principle starts with knowing what to look at and in what order.
The Monthly Checks That Take Under Ten Minutes
You don’t need tools for these, and they’re the ones that catch the majority of problems while they’re still cheap to fix. Set a reminder on the first of the month and run through the list. A garage door is your home’s largest moving part, and it moves every single day, so wear accumulates faster than most homeowners expect.
- Watch the full cycle. Open and close the door once and just watch. Look for jerky movement, a door that pauses partway, or a bottom edge that doesn’t meet the floor evenly.
- Listen. A grinding, scraping, or banging sound has a cause. Squeaking means friction. A thud at the end of the close means the travel limits need adjusting.
- Test the safety reverse. Put a piece of wood or a roll of paper towels in the door’s path and let it close. It should reverse on contact. This one matters for safety and it’s easy to forget.
- Check the photo-eye alignment. Those two small sensors near the floor should have a steady indicator light on each. If one is blinking or dead, the door won’t close reliably.
- Look at the door itself. Scan the panels for dents, cracks, or gaps at the hinges. On steel doors, small rust spots near the bottom are worth treating before they spread.
- Look up. Glance at the springs, cables, and the opener rail. You’re not touching anything, just looking for anything hanging loose, frayed, or out of place.
None of these checks require you to put your hands near the springs or cables, which is exactly how it should be. You’re gathering information, not doing surgery. That distinction matters, and it’s the difference between maintenance and a hospital visit.
How to Do the Door Balance Test (and What It Tells You)
An out-of-balance door usually means the springs are losing tension, and that’s your earliest warning before a failure. To test balance safely, close the door fully and pull the manual release cord to disconnect the opener. Then lift the door by hand to about halfway and let go. A properly balanced door will hold roughly where you left it. One that sinks to the floor or shoots up toward the ceiling is out of balance. Reconnect the opener before you do anything else.
What the result actually means:
- Sinks down on its own: the springs have weakened. The door is being carried by the opener motor instead of the springs, and the motor will wear faster as a result.
- Shoots up hard: the springs are over-tensioned, or a spring has already broken and the other is doing all the work.
- Holds position but feels heavy: some spring wear is normal over time, but a door that’s noticeably harder to lift than it was a year ago needs a technician’s eye.
The balance test tells you the springs are changing, not whether they’re safe to keep using. Here’s the safety caveat that matters: springs are under extreme tension, and if one fails while you’re working near it, the energy release can cause serious injury. We don’t walk homeowners through adjusting or replacing springs themselves, and no honest garage door specialist would. If the balance test fails, call a technician and leave the springs alone. That’s a core service at garage door repair, and it’s the one we treat with the most caution on every Richmond job.
Lubrication in Richmond Humidity: What Works and What Doesn’t
Richmond’s humidity is why lubrication on a garage door isn’t optional. Moisture hangs in the air through the summer, and metal parts that would be fine in a dry climate start to corrode and seize here. A few drops of the right lubricant a couple of times a year prevents most of it, but the product matters more than the schedule.
What to use: a silicone-based or lithium grease lubricant on the tracks, rollers, and hinges. White lithium spray works well on the moving joints. Silicone spray is the better choice for tracks and rollers because it doesn’t collect dust the way heavier grease does.
What to avoid: WD-40 on springs is the mistake we see most often. The standard formula is a penetrating solvent, not a long-term lubricant, and it strips the oil that’s protecting the spring coil, which is the opposite of what you want. Use it to loosen a stuck bolt, not as garage door maintenance. Likewise, don’t grease the tracks. Grease attracts grit that ends up in the rollers.
Where to apply it:
- On the hinges at each joint, a small amount, worked in by opening and closing the door a few times.
- On the roller stems, not the wheels themselves.
- Along the inside of the tracks with a silicone spray, wiped down afterward.
- On the opener’s chain or screw drive, following the manufacturer’s guidance for your specific system.
Springs themselves are best left to a technician. They need a specific lubricant and a careful hand, and the risk of getting it wrong outweighs the benefit of a homeowner doing it. This is the point on the checklist where we recommend putting the spray can down and letting a trained eye handle it.
Cable and Roller Inspection Without Tools
You can inspect cables and rollers with your eyes and nothing else, and catching a problem early here prevents some of the worst failures. Keep your hands off the cables. They’re under tension, and a cable that’s about to fail shouldn’t be touched by anyone but a technician.
What to look for in the cables:
- Fraying or broken strands. A sound cable is smooth and uniform. Fraying is a sign it’s near the end of its life.
- Hanging slack on one side, which means the cable has come off the drum.
- Rust or discoloration along the length, common in Richmond’s humid months.
- An uneven look between the two cables. They should match.
What to look for in the rollers:
- Flat spots or a wheel that no longer turns smoothly.
- Chips or cracks in nylon rollers, more common on older doors.
- Grinding or squealing as the door moves, which points to a worn bearing.
- Rollers that have jumped the track, which you’ll see as a gap between the roller and the rail.
If the cable is frayed or hanging, or a roller is clearly broken, stop using the door and call for help. A snapped cable can let one side of the door drop, and a jammed roller can bend the track beyond repair. Both of those are far more expensive than catching the problem during a routine check. When you spot either, that’s a job for garage door repair rather than a weekend project.
Weatherseal and the Freeze-Thaw Cycle
Richmond winters swing above and below freezing, often within the same week. That freeze-thaw rhythm is hard on weatherseals. Water gets into a small gap, freezes, expands, and opens the gap wider. Repeat that a few times and a seal that looked fine in October is letting cold air and moisture in by January. The bottom seal and the side seals fail differently, so check both.
Bottom seal failure looks like:
- A visible gap between the rubber and the floor when the door is closed.
- Cracks or tears along the rubber, especially where ice has pushed against it.
- A door that closes but still lets a draft in at the base.
Side and top seal failure looks like:
- Gaps along the frame where light comes through.
- Weatherstripping that’s peeled away, hardened, or crumbled.
- Water stains on the garage floor near the door in wet weather.
Replacing weatherseal is one of the more approachable maintenance tasks, since it’s mostly a matter of cleaning the channel and fitting new material. The trick is matching the profile to your door. A Clopay door and an Amarr door may use different seal profiles, which is why it pays to check the make before buying a replacement. If you’re unsure, mention the brand and we can point you at the right part. When drafts can’t be traced to the seal, the problem is sometimes the door’s alignment, and that ties back to the balance and hinge checks above.
A Realistic Maintenance Schedule
The biggest flaw in most checklists is treating everything as annual. Some tasks matter monthly, some matter twice a year, and a few genuinely only need attention once a year. Here’s how we’d break it down for a typical Richmond home, with a mix of doors and openers that include everything from legacy systems to newer smart setups.
Monthly:
- Full open and close cycle, watching and listening.
- Safety reverse test.
- Photo-eye light check.
- Visual scan of panels, springs, cables, and rollers.
Every six months:
- Lubricate hinges, roller stems, and tracks with silicone or white lithium spray.
- Balance test with the opener disconnected.
- Tighten visible hinge and bracket bolts with a socket wrench.
- Weatherseal inspection, especially ahead of winter.
Once a year:
- Professional inspection of springs, cables, and the opener’s mechanical parts.
- Track alignment check and clearance adjustment.
- Battery replacement in wireless openers and remotes.
- Look at the door’s finish for chips or rust, and touch up as needed.
This structure front-loads the cheap, high-value checks and pushes the ones that need a technician to the annual slot. It also matches the local reality: spring tension and weatherseal take the worst of the seasonal swing, so those get more frequent attention than the door’s paint.
Opener Care for Smart and Legacy Systems
The opener is the part of the system most likely to be replaced before the door, and the care it needs depends heavily on what’s in your garage. A newer LiftMaster or Chamberlain with Wi-Fi and app control needs firmware updates and a Wi-Fi connection that actually holds. A decade-old Genie or Craftsman needs the drive chain or screw checked for slack and the motor housing cleared of dust. Both need the force limits set correctly, because a motor that’s working harder than it should wears out faster.
A few opener-specific tasks worth doing:
- Test the manual release every few months. Pull the cord, disengage the door, and make sure it re-engages cleanly when you run the opener.
- Clear the safety sensor lenses. Dust and cobwebs are common in a garage and block the beam.
- Replace remote and keypad batteries. A weak battery causes more “my opener is broken” calls than any other single cause.
- Check the force and travel settings if the door stops short or reverses without an obstruction. These are usually adjustable on the motor housing, and the manual for your specific brand will show where.
If the opener runs but the door doesn’t move, the problem may be the door rather than the motor, which is why we diagnose before recommending a replacement. Opener repair is its own skill, and it’s covered in detail under garage door opener repair. We handle the LiftMaster and Chamberlain smart ecosystem alongside the legacy and manual systems, so the diagnosis follows the equipment rather than the other way around. A new opener that’s mismatched to the door is worse than the old one it replaced.
Common Mistakes to Avoid
- Spraying WD-40 on the springs. The standard formula is a solvent, not a lubricant, and it strips the coil’s protective oil. Use silicone or white lithium spray on the moving parts instead, and leave the springs to a technician.
- Greasing the tracks. Grease collects grit and dust, and the rollers end up grinding against it. Tracks get a light silicone spray and a wipe-down, not a coating of grease.
- Skipping the balance test because the door “still works.” A door that opens fine can still be carried entirely by the opener motor because the springs have gone slack. That’s the failure that shows up as a sudden snap.
- Adjusting the opener force to fix a heavy door. Cranking up the force setting masks a spring or balance problem and puts extra strain on the motor and the door’s hardware. Fix the cause, not the symptom.
- Ignoring weatherseal until winter. In Richmond’s freeze-thaw cycle, a small seal gap becomes a bigger one after a couple of hard freezes. Inspect it in the fall, not after the first cold snap.
- Touching a frayed cable. Cables are under tension and can cause serious injury if they let go. If a cable looks frayed, stop using the door and call a technician.
- Buying a replacement seal without checking the door brand. Seal profiles differ between makers. Match the seal to your door, especially if it’s a Clopay, Amarr, or Wayne Dalton model.
See the difference
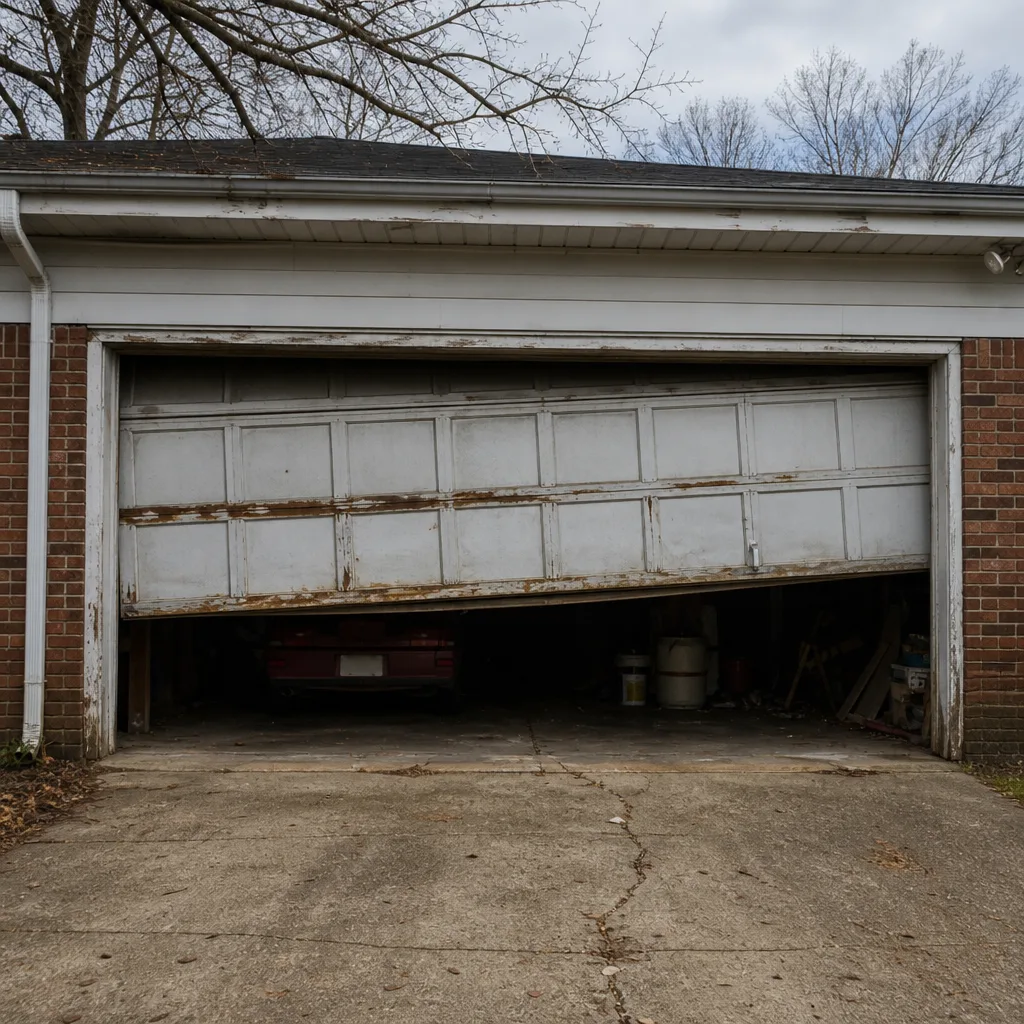 Before
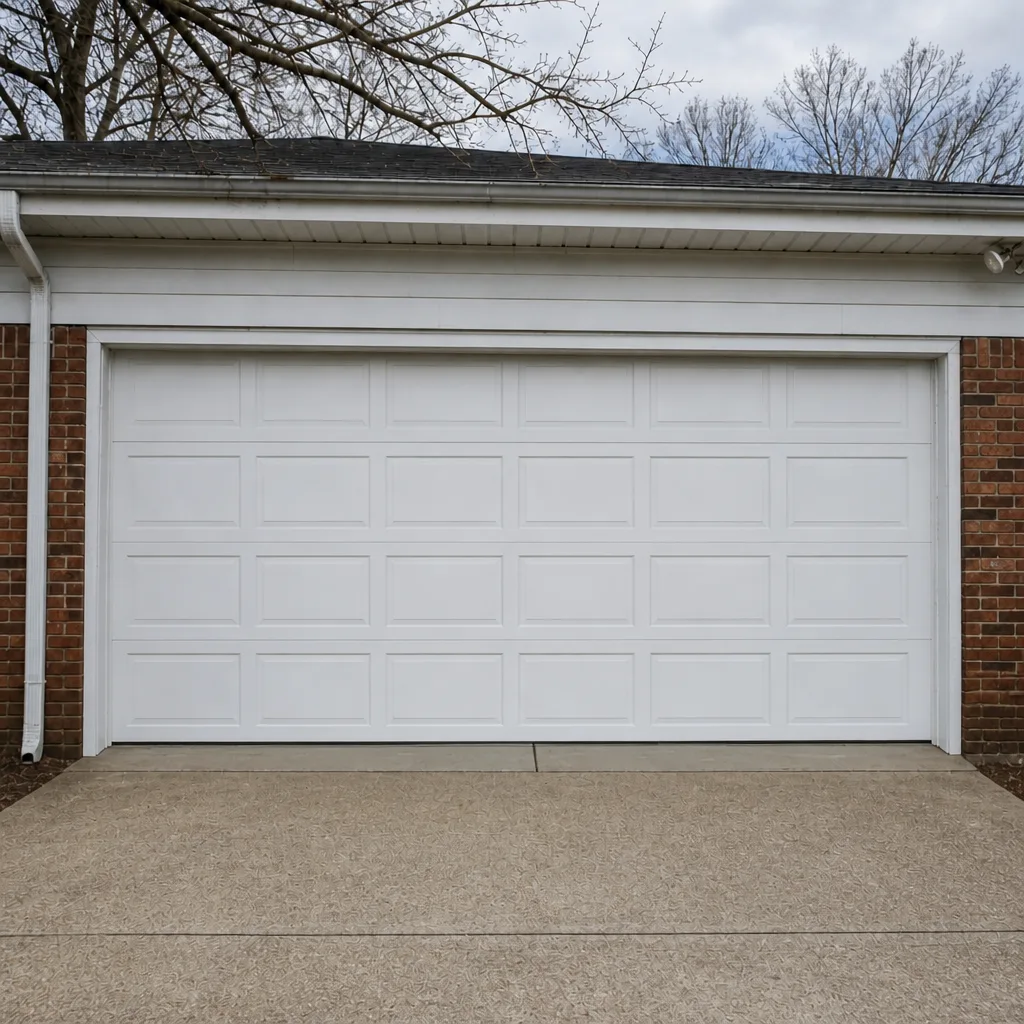 After
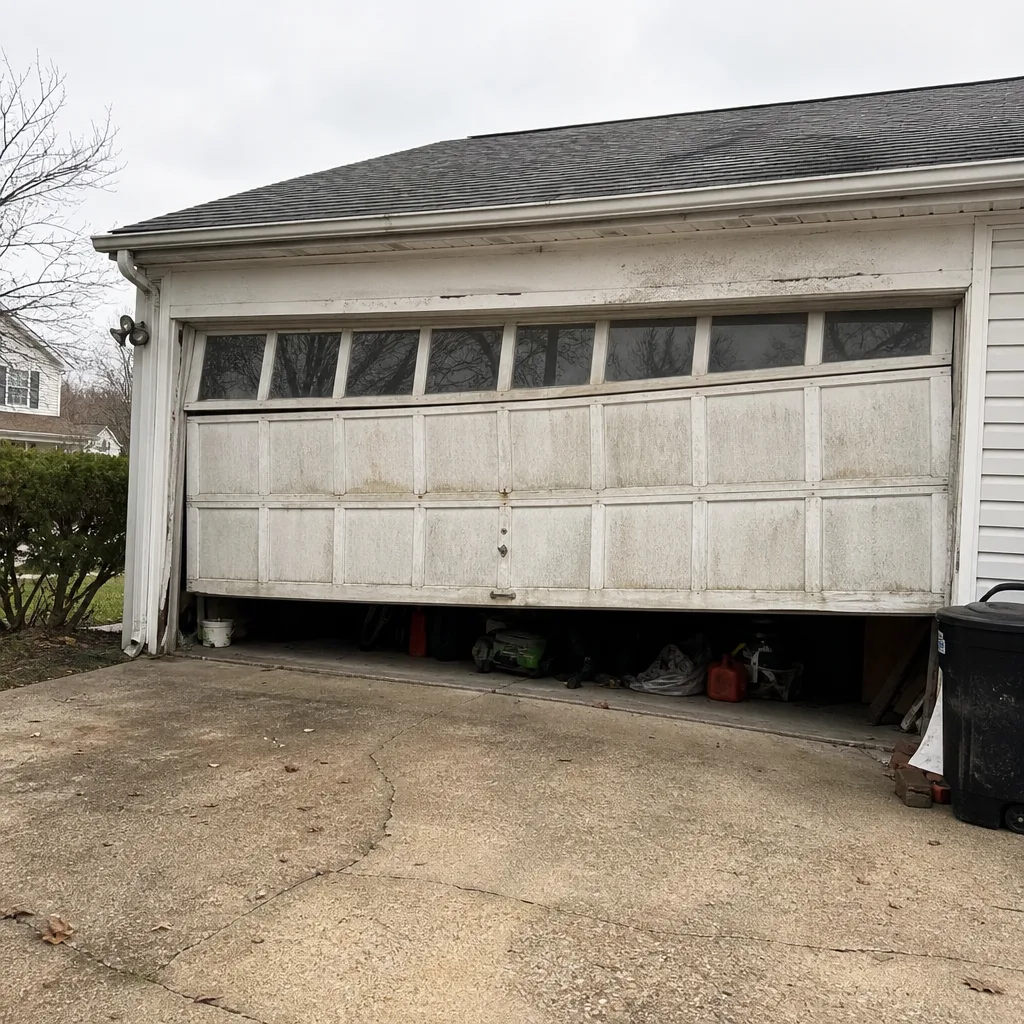 Before
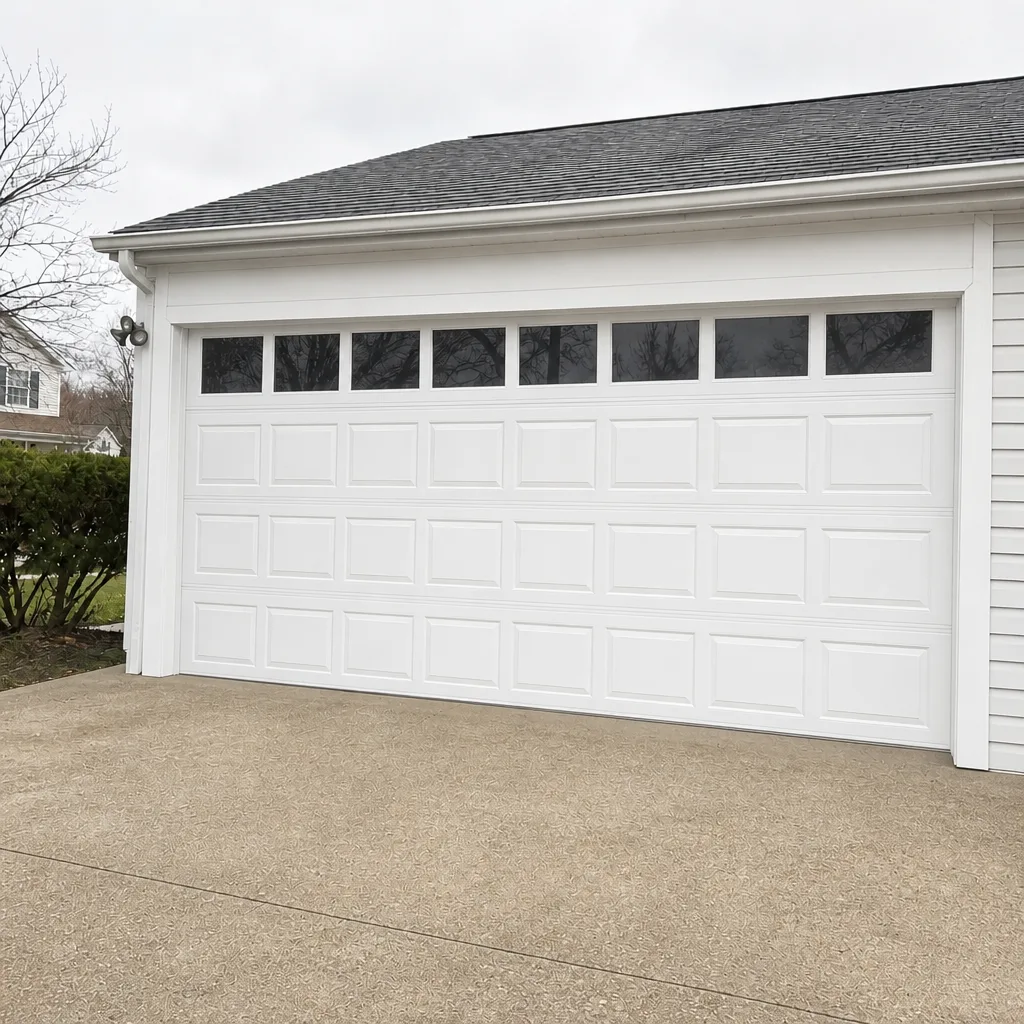 After
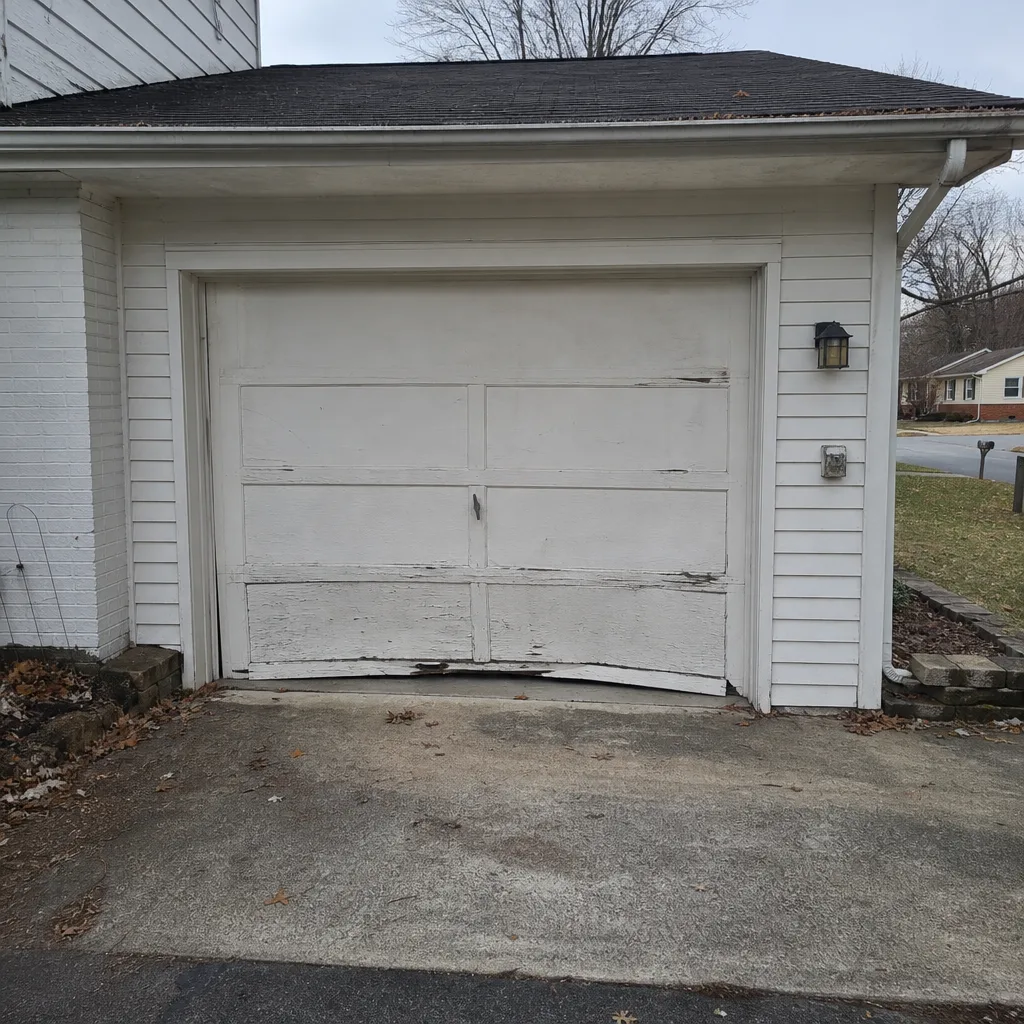 Before
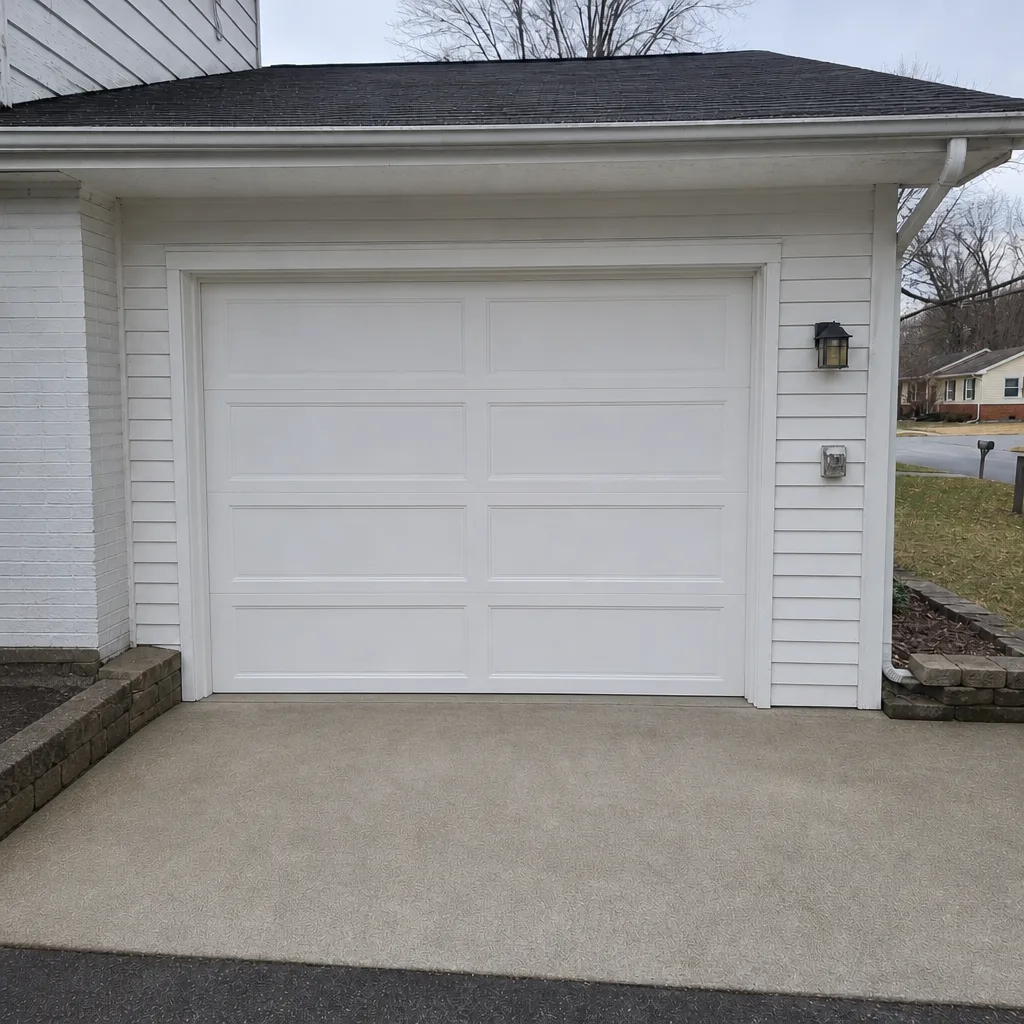 After
When to Call a Professional
Some tasks belong in the homeowner’s hands and some don’t. Monthly visual checks, lubrication, safety sensor cleaning, and weatherseal inspection are all reasonable for a careful homeowner. But call a technician when the door goes out of balance, when a spring or cable looks damaged, when the door comes off the track, when the opener runs without moving the door, or when you hear a loud bang from the garage and the door won’t lift. Those are the situations where the risk of working on it yourself outweighs the savings. Richmond Garage Door Repair Co offers free estimates in Richmond, and a technician with up to 13 years of experience can tell you whether it’s a repair or a replacement. Spring failures don’t wait, and neither do we. Call (833) 508-9230 for a free estimate.
Frequently Asked Questions
Twice a year is the right cadence for Richmond’s humidity, once in spring and once in fall. Use a silicone or white lithium spray on the hinges, roller stems, and tracks, and skip the standard WD-40 on the springs. If the door squeaks between lubes, add a third application.
It usually means the springs have weakened and the opener motor is carrying more of the door’s weight than it should. That’s a warning sign of spring wear, not a guaranteed failure, but it means a technician should look at the springs before they snap. Don’t try to adjust them yourself. Call (833) 508-9230 for an inspection.
Yes, bottom and side weatherseal is one of the more approachable homeowner tasks. You’ll need to match the seal profile to your door brand, since makers like Clopay and Amarr use different profiles. If the draft persists after replacement, the problem is usually alignment, and that’s a technician issue.
Frayed strands, a cable hanging slack on one side, or visible rust along the length are the warning signs. A cable that looks smooth and even is usually fine. If you see fraying, stop using the door and call a technician, because a failing cable can drop one side of the door.
Yes, once a year is worth it, especially for springs, cables, and the opener’s mechanical parts. The failures we see in Richmond homes are often invisible during normal use until they’re serious, and an annual check catches them while they’re still cheap to fix.
We work on the brand already in your garage, including LiftMaster, Chamberlain, Genie, Clopay, Amarr, Wayne Dalton, Craftsman, and Raynor. That range means the diagnosis follows your actual system rather than steering you toward one manufacturer. For larger jobs like a replacement door, that’s also where garage door installation comes in, and brand-neutral recommendations are based on fit, not inventory.
The Bottom Line
Maintenance works best when it’s ordered by what fails first, and in Richmond that means springs, cables and rollers, and weatherseal get the attention. Run the monthly cycle, safety, and photo-eye checks, lubricate twice a year with the right product, test balance every six months, and bring in a technician annually for the springs and opener internals. Skip the WD-40 on the springs, skip the grease on the tracks, and don’t touch a frayed cable. That’s the whole routine, and it’s the one that keeps emergency calls off your calendar. When a check turns up something serious, call (833) 508-9230 for a free estimate.
Written by the team at Richmond Garage Door Repair Co.