Last updated November 21, 2026
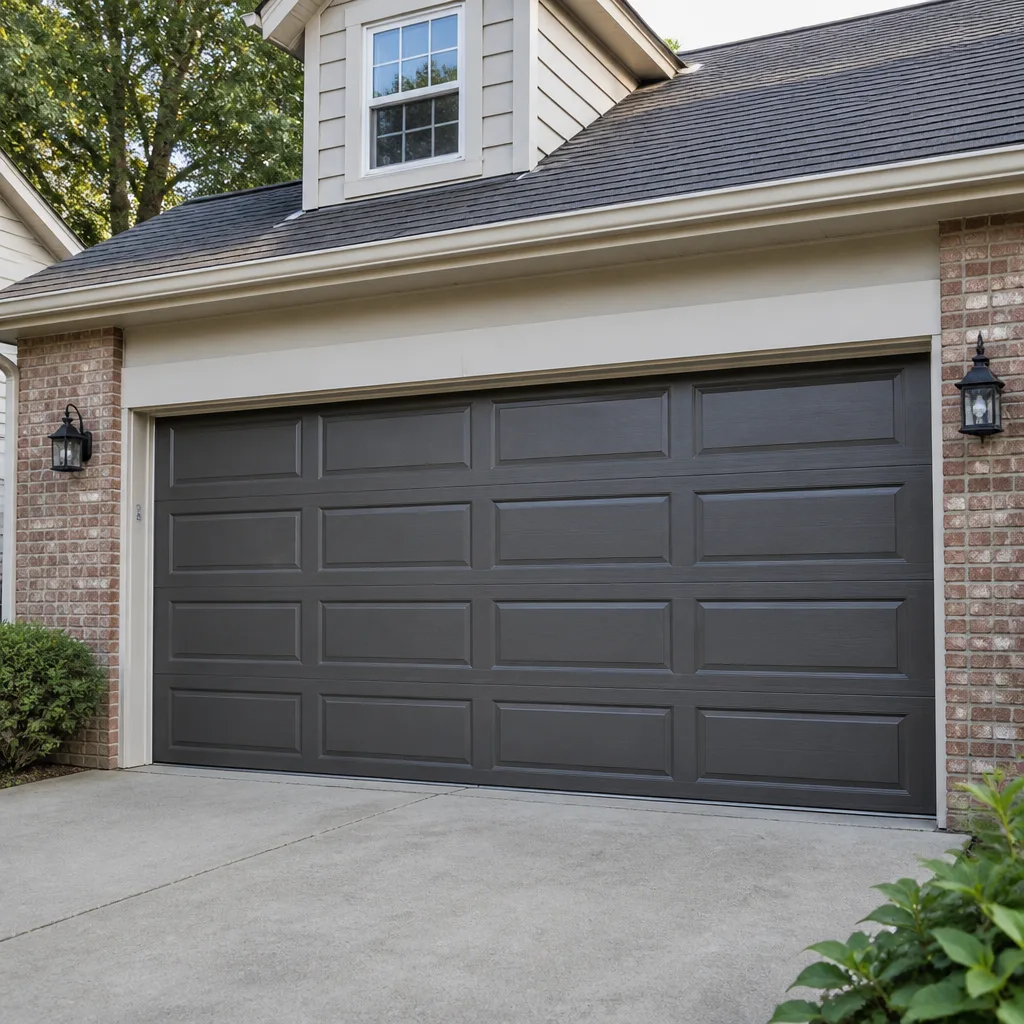 Raised-panel steel
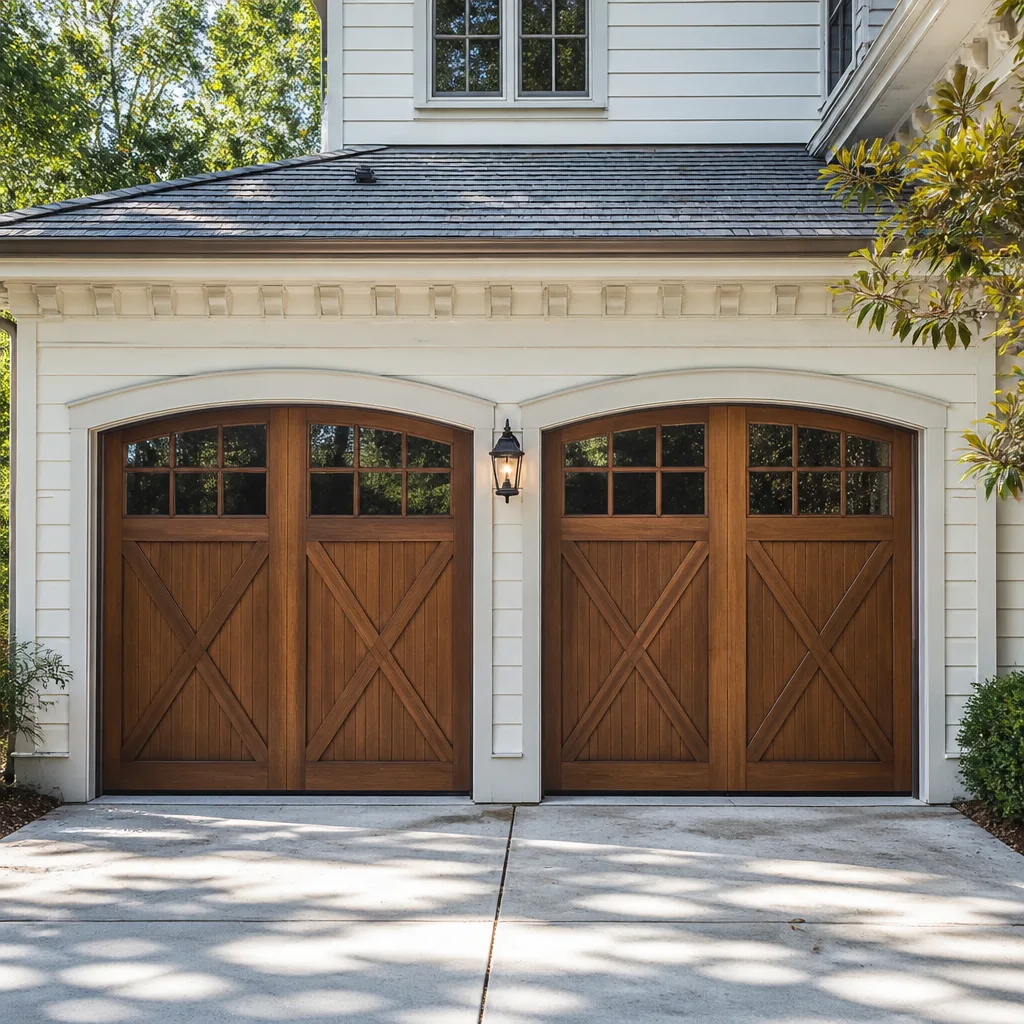 Carriage house
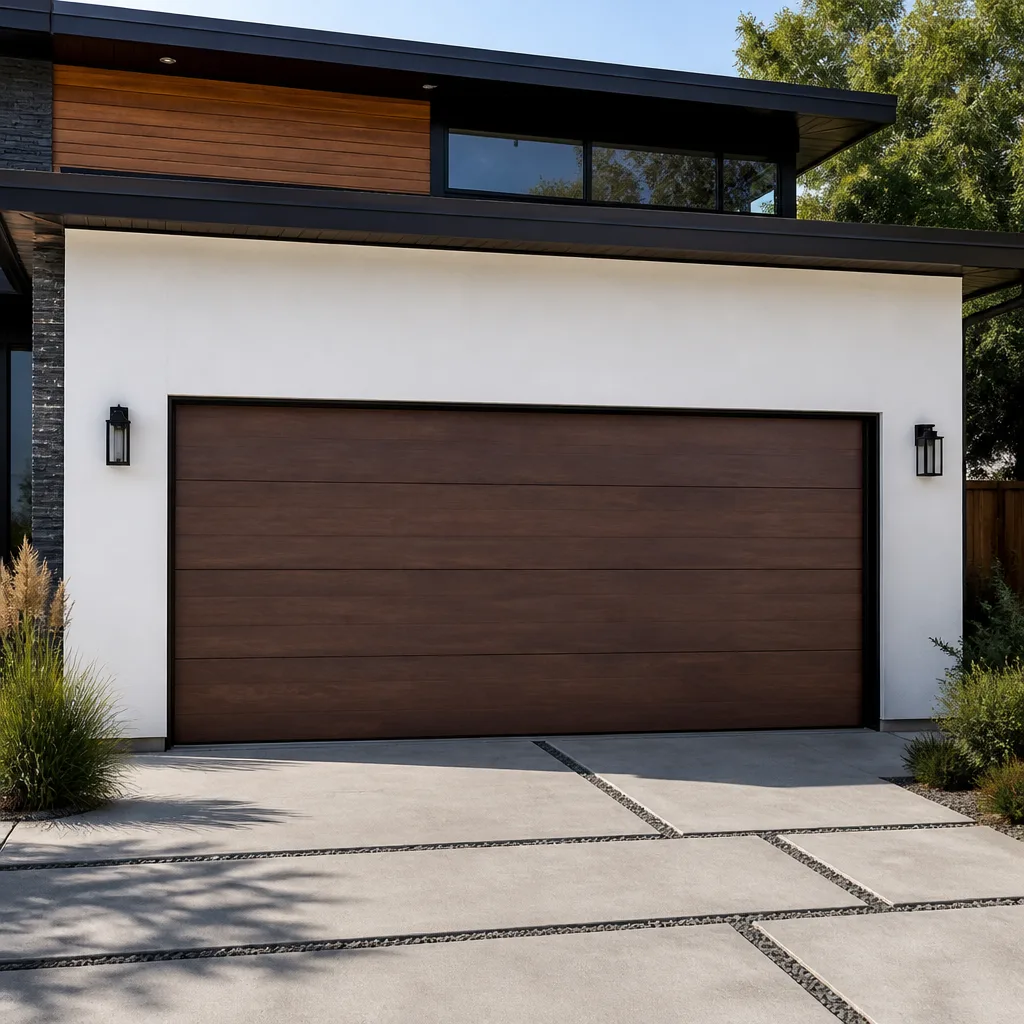 Modern flush
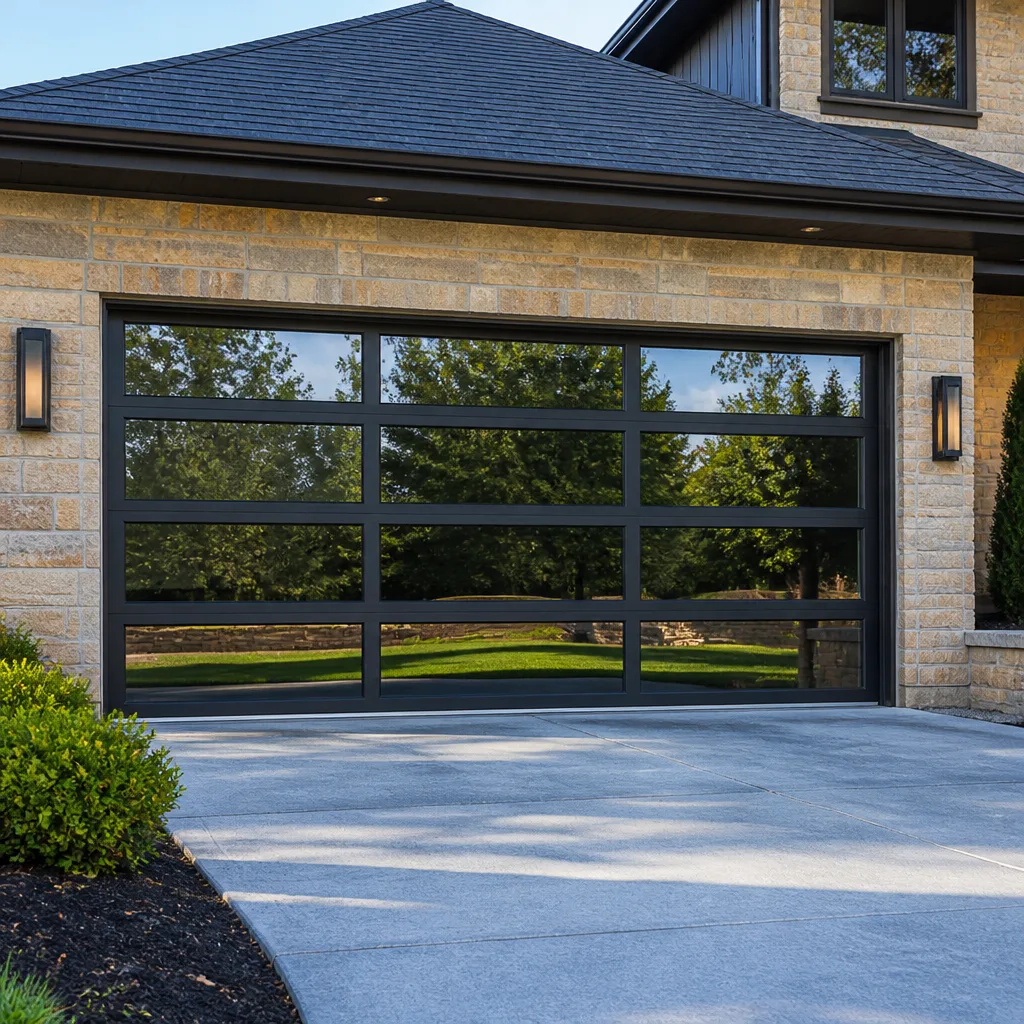 Full-view glass
 LiftMaster openers
 Chamberlain openers
Full 25-point door and opener safety check with every visit - springs, cables, rollers, tracks, and your LiftMaster or Chamberlain opener included
You get a price before we start. It does not change when the pro arrives.
Get your free estimateDIY vs Professional Garage Door: The Richmond Homeowner’s Decision Guide
Most homeowners who get hurt working on a garage door are not reckless people. They’re the competent ones – the homeowner who has re-tiled a bathroom, replaced a water heater, and rewired a light fixture without help. That confidence is exactly what makes a torsion spring so dangerous, because it looks like a metal rod and behaves like a loaded spring. Stored mechanical energy doesn’t care how handy you are.
This guide draws a hard line between the garage door work Richmond homeowners can genuinely handle and the work that belongs to a trained technician. You’ll learn which repairs are safe, which ones are not, what DIY actually costs once you buy the tools, and where partial DIY fits in. Richmond’s older housing stock and humid summers shift the answer in a few places.
Quick Answer
Homeowners can safely handle lubrication, weatherseal replacement, photo-eye alignment, and minor cosmetic panel dents. Torsion spring replacement, cable work, and track realignment under tension require a trained technician because those parts store enough energy to cause serious injury. Everything else is a judgment call based on the tools you own and how the door is built.
Styles & brands we work with
- Raised-panel steel
- Carriage house
- Modern flush
- Full-view glass
- LiftMaster openers
- Chamberlain openers
Table of Contents
- Which Garage Door Tasks Are Safe to DIY?
- Why Torsion Springs Are Categorically Different
- DIY vs Professional Cost for the Five Most Common Repairs
- How to Tell If a Repair Needs Professional Equipment
- What Partial DIY Looks Like
- Richmond Housing, Climate, and Your Door
- Why Brand Familiarity Changes the DIY Equation
- When to Stop and Call a Professional
Which Garage Door Tasks Are Safe to DIY?
The garage door has roughly a dozen components that fail over time. About five of them are homeowner-appropriate. The rest involve stored energy, tensioned cables, or alignment geometry that a technician learns on the job. Here’s the honest split.
Safe for most homeowners
- Lubrication. Hinges, rollers, the torsion bar bearings, and the opener rail all benefit from a proper garage door lubricant once or twice a year. That’s it.
- Weatherseal replacement. The rubber strip along the bottom of the door and the vinyl seal around the frame both wear out and pull off by hand. Replacement kits are cheap and install in under an hour.
- Photo-eye alignment. If the door reverses before it hits the floor or won’t close at all, the safety sensors near the floor are usually bumped out of line. Straightening them with a hand and watching the indicator lights is genuinely a homeowner repair.
- Minor cosmetic panel dents. Small dents that don’t affect the panel seam or the track alignment can sometimes be pressed out from behind or left alone. If the panel has creased, it’s a replacement conversation, not a repair.
- Track debris clearing. Dirt, leaves, and spider webs in the track cause stuttering. A rag and a shop vac handles most of this. Never bend the track to fix a symptom.
Professional territory
- Torsion spring replacement. The single most dangerous job on the door.
- Cable replacement or re-spooling. Cables are under hundreds of pounds of tension. They snap without warning.
- Track realignment. Bending a track back into plumb is easy; doing it while the tension is correct is not. Bad realignment causes rollers to walk out and panels to bind.
- Opener motor or logic board failure. Modern openers integrate with smart home systems. Wiring and force-calibration work on a LiftMaster or Chamberlain unit requires a trained hand.
- Panel replacement on a tensioned door. The panel itself is replaceable, but the door has to be de-tensioned and pinned first.
- Hinge and roller replacement on a wound door. Hinges carry the panel weight. Doing them on a loaded door risks the door folding.
That split covers most of what homeowners ask about. The gray zone is anything involving the torsion system, and that’s the next section for a reason.
Why Torsion Springs Are Categorically Different
A torsion spring is a tightly wound coil of steel mounted on a bar above the door. It holds the door’s full weight under thousands of turns of stored tension. When that energy releases during a repair, it releases fast, in an arc, with enough force to break bone. This isn’t a legal disclaimer. It’s basic physics, and it’s the reason the spring sits behind the rest of the decision.
Torsion vs extension springs
Richmond homes have both, but the majority of newer builds and most doors installed since the late 1990s use torsion springs. Extension springs, the older style, run horizontally along each side of the door and stretch rather than twist. Extension springs are somewhat easier to work with because they use a contained design and can be fitted with a safety containment cable, but they still snap violently and still demand proper winding bars and correct calibration. Torsion work is where most of the risk lives, because the tools – winding bars and a bar-and-holder assembly – are the only thing standing between you and the coil.
What homeowners don’t have in the garage
- Winding bars sized to the spring. The wrong diameter bar slips and the spring unwinds unpredictably.
- Knowledge of the correct turns count. A spring wound one turn too tight will fail early. One turn too loose and the door won’t balance.
- A way to verify lift balance safely. Balancing involves disconnecting the opener and lifting the door by hand. If the spring tension is wrong, the door slams.
- A second pair of hands and eyes. Spring work is a two-person job. Most homeowners don’t have one available at 9pm when a spring snaps.
General handymen avoid this work for good reason. It sits at the intersection of high energy and a loose regulatory menu – most cities don’t require a permit for spring repair, so anyone can buy a spring at a big-box store and attempt it. The availability of the part does not make the repair safe.
DIY vs Professional Cost for the Five Most Common Repairs
DIY looks cheaper on paper. Once you account for tool purchases, retail parts markup, and the time a repair takes a first-timer versus a trained technician, the gap narrows more than most homeowners expect. Below are typical Richmond ranges for the five repairs we see most often, with the DIY cost laid out honestly. The written estimate from a professional sets the final price on the professional side; the DIY side is what you actually pay at the register.
| Repair | Typical DIY cost | Typical professional estimate | Realistic time (DIY) |
|---|---|---|---|
| Weatherseal replacement (bottom + frame) | $30 – $70 parts | $120 – $220 | 1 – 2 hours |
| Photo-eye alignment or replacement | $20 – $45 parts | $85 – $160 | 30 minutes |
| Spring replacement (one torsion spring) | $60 – $120 parts + winding bars ($40 – $90) | $180 – $340 | Not recommended – safety |
| Spring replacement (matched pair) | $120 – $240 parts + bars | About double the single-spring range | Not recommended – safety |
| Opener replacement or motor failure | $150 – $400 parts | $320 – $650 | 4 – 6 hours for a first-timer |
| Track realignment | Free if you own the tools, risky if you don’t | $150 – $300 | 2 – 3 hours |
A few things that table doesn’t show. Matched pairs are usually replaced together – a spring that fails while its pair is still under load will almost always fail within a short time, so the pair rate is the realistic cost. Professional estimates include a service call and often a warranty on parts and labor; DIY springs carry only the manufacturer’s part warranty, and none of it covers the door if you wind the spring wrong. On opener replacement, the smart-home integration on a new LiftMaster or Chamberlain unit, or compatibility work on an older Craftsman or Genie system, is where most DIY time gets eaten.
For a deeper breakdown by system and door type, our garage door repair page covers the service-side cost ranges in more detail. If you need a same-day fix on a snapped spring or a door that won’t close, call (833) 508-9230 and we’ll get an estimate onto the calendar.
How to Tell If a Repair Needs Professional Equipment
The decision isn’t only about safety. Some repairs fail even when a homeowner is careful because the job needs a tool, a calibration, or a knowledge base they don’t have. Here’s how to spot it.
- Does the door need to be de-tensioned? Any repair that touches a torsion spring, cable, drum, or hinge on a loaded door requires de-tensioning first. If yes, it’s professional.
- Does the repair require force calibration on the opener? Modern openers set force limits by measurement, not by guess. Repairs after opener replacement or sensor relocation need a calibration step. If you don’t own a force gauge or know the ceiling/up/down limits, call us.
- Do you need to bend metal to correct geometry? Track alignment looks like a leverage job. It’s an alignment job, and doing it with a hammer bends what’s supposed to be straight.
- Does the door need a new torsion bar, drum, or endplate? Those are component-level replacements on the tension side. Professional only.
- Do you need to lift the door by hand to test balance? If yes, and the door won’t stay balanced at the halfway point, the springs are miscalibrated and it should be diagnosed before any more work happens.
One more tell: if you’ve watched three different videos on the repair and none of them agree on the order of steps, the job involves calibration that depends on the specific door. That’s a professional signal, not a personal one. Whether your door is an Amarr, a Wayne Dalton, or something older, the calibration is specific to what’s there.
What Partial DIY Looks Like
Partial DIY is the category most guides ignore. You handle the low-risk prep, a technician handles the dangerous or technical components, and the professional estimate comes down because the labor is smaller. Here’s what that looks like in practice.
What homeowners can prep
- Clear the work zone. Move cars, ladders, bikes, and stored goods away from the door and the ceiling track. Technicians charge for time, and setup time counts.
- Clear the opener rail and ceiling. If the opener has shelving or storage pressed against it, clear it before the visit.
- Document what you’ve already checked. A short note – “door won’t close, sensors blink green, tried realigning” – saves diagnostic time. Specifics matter more than length.
- Photograph the label on the opener and the spring. Spring wire size and opener model number tell the technician what’s needed before they arrive, which often cuts a visit to one trip.
- Handle the weatherseal yourself. Do the bottom seal and frame seal on your own schedule; call a professional only for the mechanical work. That combination is common and works well.
What partial DIY is not
Partial DIY does not include loosening the spring bolts to “help,” removing the winding bars to see how it feels, or holding the door up while someone else works. Any of those moves takes a safe job and makes it unsafe. When in doubt, leave it loaded and call us.
Richmond Housing, Climate, and Your Door
Richmond’s housing stock splits the decision in a few interesting ways. Homes in older neighborhoods like the Fan, Jackson Ward, and Church Hill often have doors that pre-date the modern torsion spring era. Garages in those blocks may have extension springs, manual doors, or aftermarket opener installs done decades ago. The parts are still serviceable, but the correct approach depends on what’s actually installed – not what a YouTube video assumes is there.
Suburban neighborhoods across Henrico and Chesterfield lean toward newer builds with torsion springs, sealed weatherstripping, and smart-home openers. Those doors are simpler to work on for the mechanical repairs, and harder to work on for the electronics, because a LiftMaster myQ or Chamberlain integration is not a plug-and-play swap if the unit is a different generation.
Richmond’s humid summers matter more than most homeowners realize. Humidity swells wood panels and stresses the bottom seal, and the seal is the thing that keeps water out of the frame. Replacing a weatherseal is one of the highest-value DIY jobs here – failing seals are behind most water intrusion complaints we hear about, and the repair is cheap and unpicky. Winter cold snaps also cause spring fatigue, which is when most snap calls come in. The temperature swing stress on steel is real, and Richmond gets enough of both extremes to shorten spring life relative to milder climates.
On permits, Richmond doesn’t require one for a spring swap. Panel replacement, opener replacement, and structural track work on a door that connects to the home’s envelope sometimes do. Ask your city’s building department before a full replacement; it’s a phone call and it saves surprises later. If you’re moving toward a replacement, our garage door installation page covers the process and the timeline.
Why Brand Familiarity Changes the DIY Equation
Two doors that look the same from the driveway can require completely different part numbers, calibration settings, and repair approaches. That’s why the brand question is a decision factor, not a marketing point. A homeowner researching spring replacement for a Craftsman opener built for a 1990s Sears door will find parts, but the opener’s force limits and travel calibration are different from a modern LiftMaster unit – and doing the swap correctly needs the right manual, not a general one.
We work on the brand already in your garage, which is why our technicians are certified familiar with eight major lines: LiftMaster, Chamberlain, Genie, Clopay, Amarr, Wayne Dalton, Craftsman, and Raynor. That range matters for DIY decisions because it changes what parts are available, what the manufacturer manual says, and how the opener and door interact. Whether your opener is a decade-old Craftsman or a new LiftMaster with Wi-Fi, the calibration is specific to the unit. For opener-side diagnosis and repair, our garage door opener repair page walks through the common failure modes.
Property managers across Richmond end up in this situation constantly – a multi-unit building with mixed equipment, some Amarr doors, some Raynor, openers from at least three generations. Standardizing on a single brand isn’t realistic. Working with a technician who knows the systems in front of them is.
Common Mistakes to Avoid
- Winding a torsion spring without winding bars. Using screwdrivers, pliers, or a pipe as a substitute is how most spring-work injuries happen. The bar is sized to the spring for a reason.
- Replacing one spring and leaving its pair. A matched pair shares load. When one fails, the other is already fatigued. Replacing only the broken unit usually means a second call very soon.
- Bending a track back into place with a hammer. Track alignment is measured in millimeters. Any bend that isn’t corrected with a proper alignment tool usually makes rollers walk out.
- Buying a spring by door width only. Spring selection depends on wire gauge, inside diameter, and length together. A spring that matches the door’s width but not its weight will fail early or leave the door unbalanced.
- Ignoring sensor alignment after moving stored goods. The photo-eyes sit near the floor and get knocked every time a bike or box is set down. Realigning them is a homeowner job; missing it means a door that won’t close.
- Assuming a modern opener is plug-and-play. Chamberlain, LiftMaster, and Genie units have different force calibration and travel settings. A new opener mated to an older door isn’t a swap, it’s a setup.
- Skipping the written estimate on a professional repair. On the professional side, the price should be quoted and agreed before any work starts. If you don’t have that in writing, ask for it.
See the difference
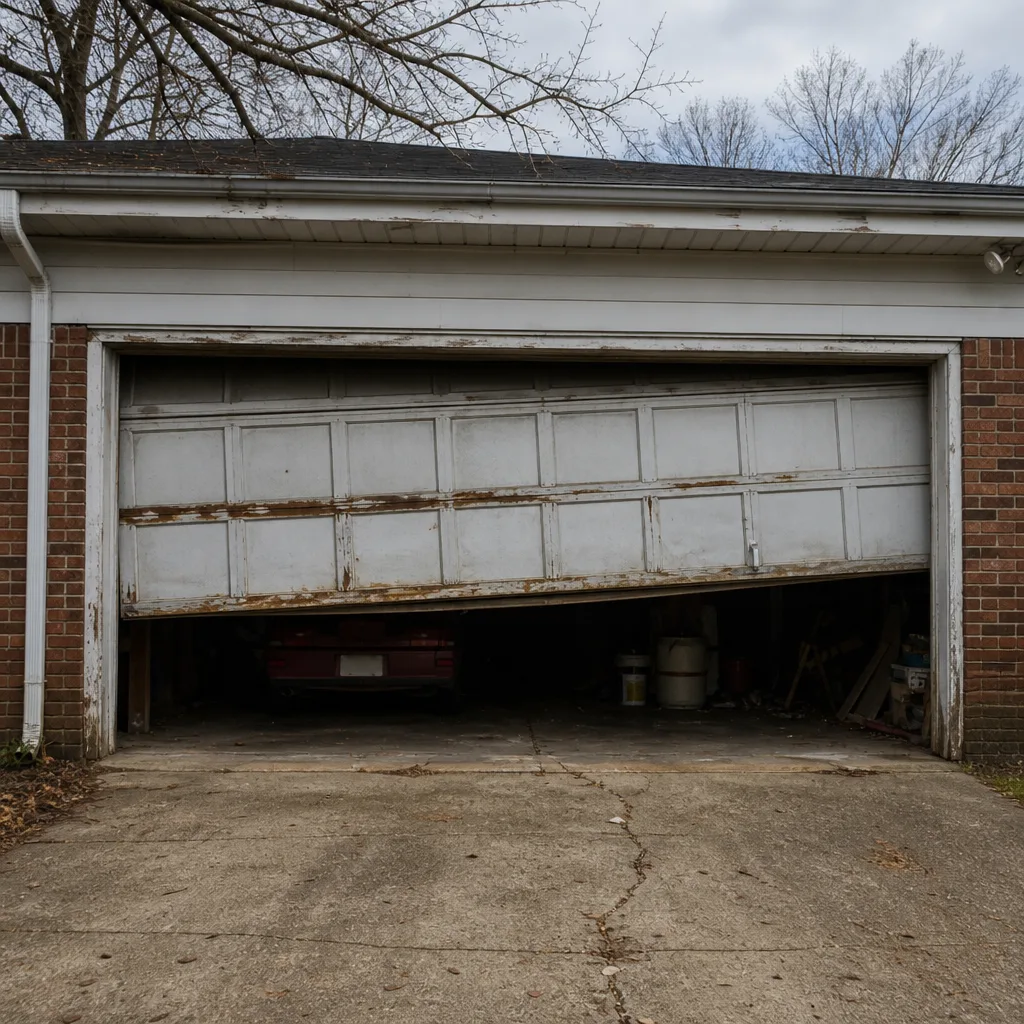 Before
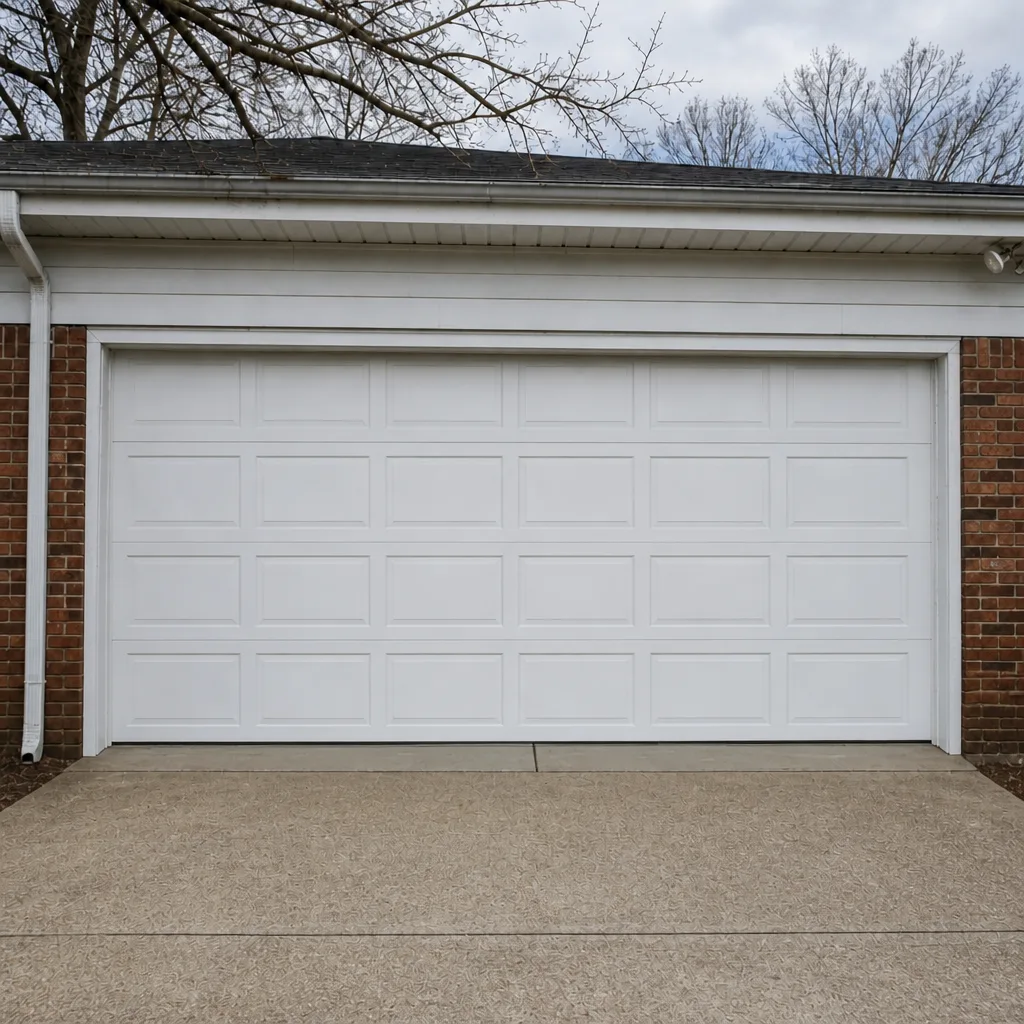 After
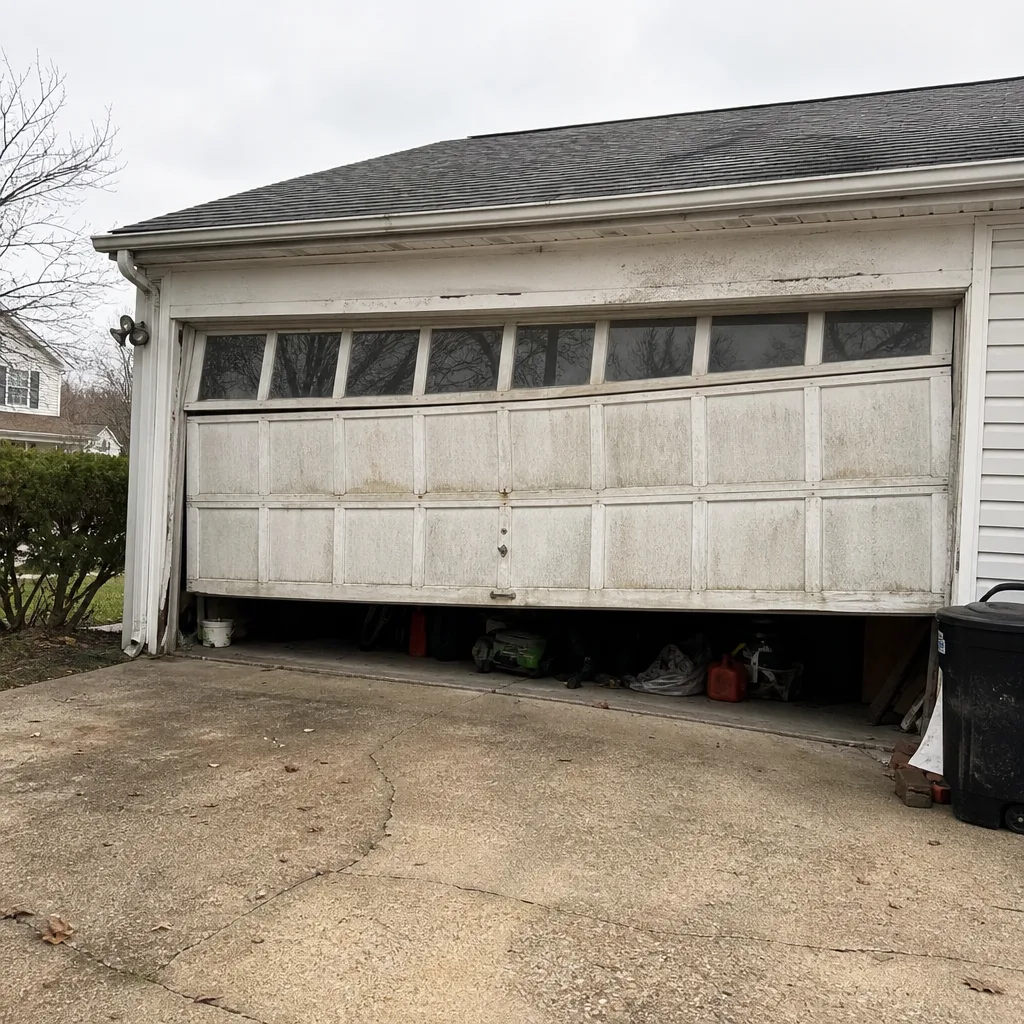 Before
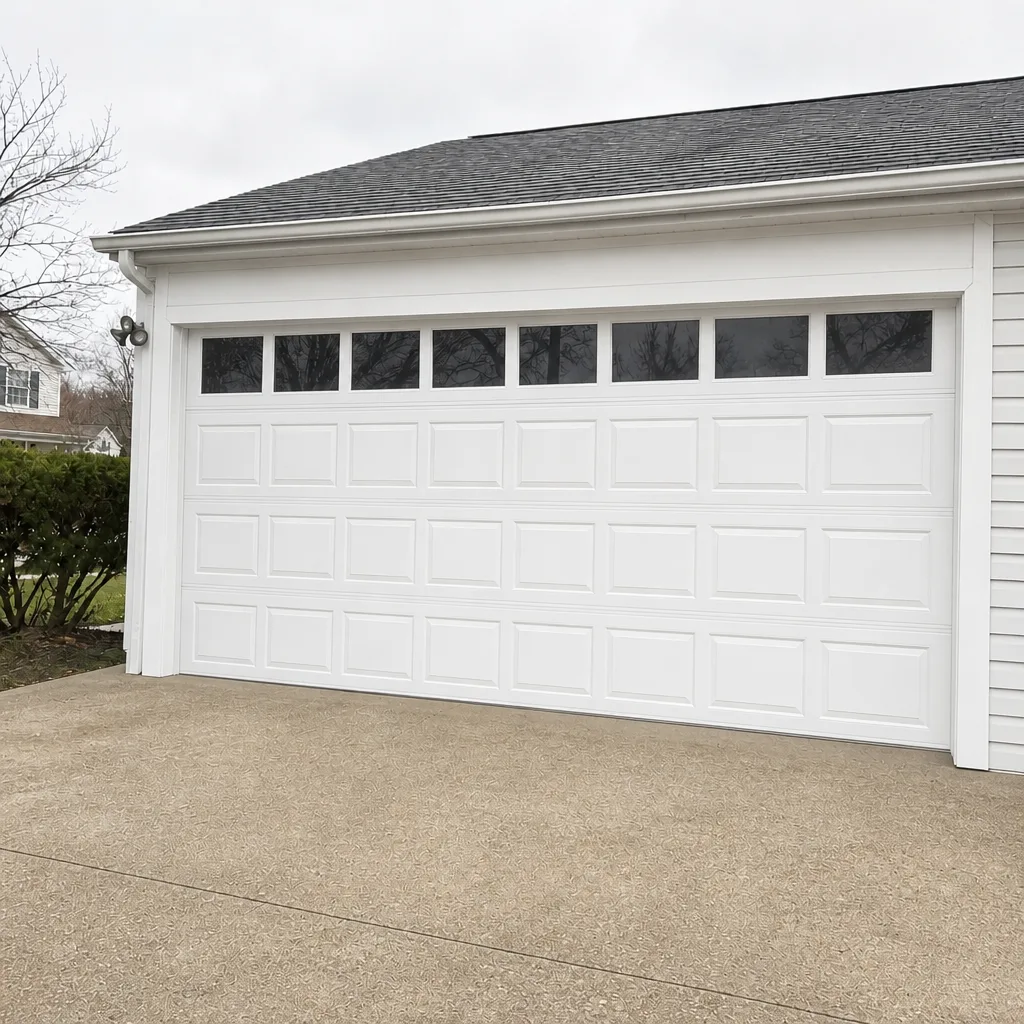 After
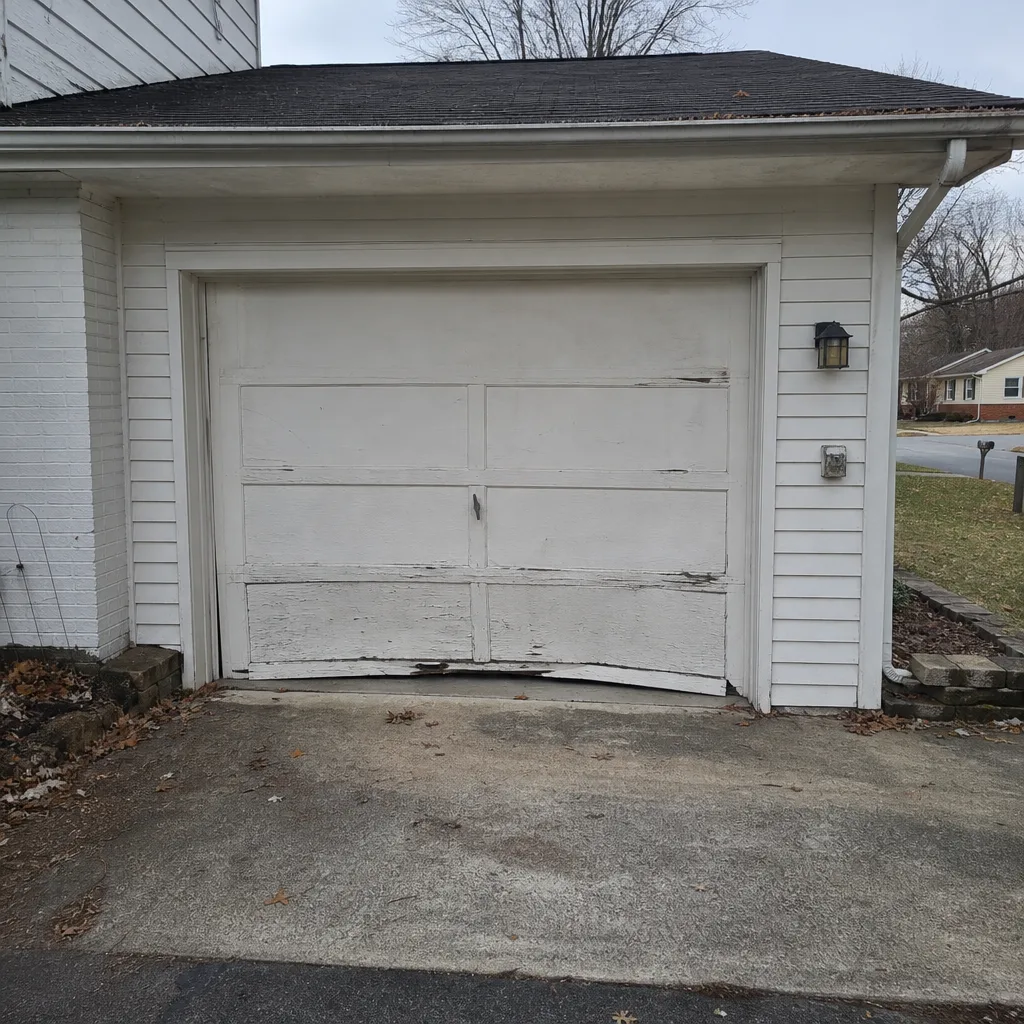 Before
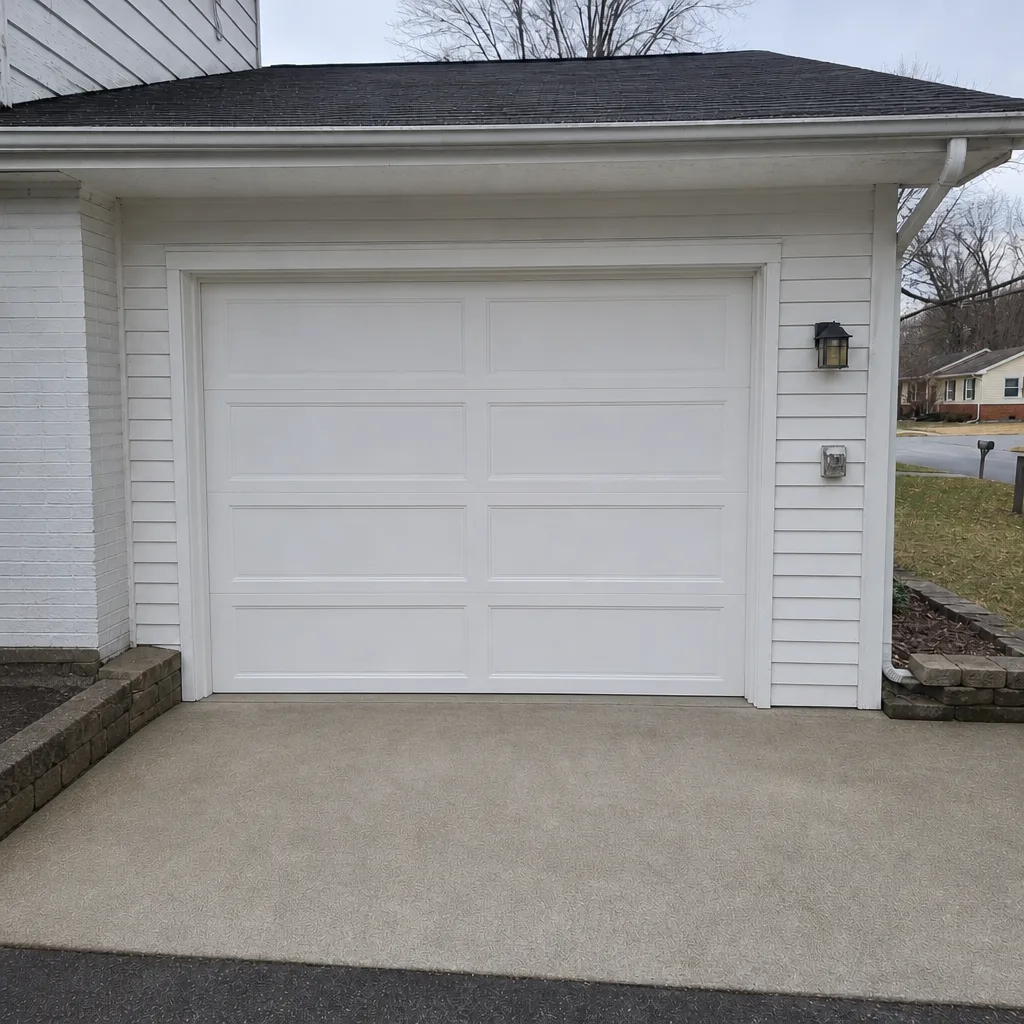 After
When to Call a Professional
Call a professional the moment the repair touches a torsion spring, a cable, a drum, or a loaded track. Call also if the door won’t stay balanced at the halfway point, if the opener reverses unexpectedly, or if you’ve tried a minor fix and the symptom came back. Those signs point to a calibration or a component issue, not a user error. Richmond Garage Door Repair Co offers free estimates in Richmond – same-day service and fast dispatch from 7am to 7pm are available when a door is stuck or the house isn’t secure, and emergency garage door service is treated as a real commitment, not an upsell. Whether the door is a Raynor from a recent renovation or a Genie opener from the 1990s, we work on what’s already there. Call (833) 508-9230 and we’ll talk through the repair first.
Frequently Asked Questions
No. Torsion spring replacement involves stored energy that can seriously injure someone adjusting the spring, and it requires winding bars and calibration most homeowners don’t have. Extension springs are somewhat easier to work with but still demand proper tools and containment. Call (833) 508-9230 for a free estimate – spring repairs are a core service for us. Estimates are free and a written quote sets the price before we start.
Lubrication, weatherseal replacement, photo-eye alignment, minor cosmetic dents, and clearing debris from the track are all safe homeowner repairs. If the repair touches the springs, cables, drums, or track alignment, it’s a professional job. Call (833) 508-9230 if you’re unsure which category a repair falls into.
One torsion spring typically runs $180 to $340. A matched pair is usually replaced together and costs about double that, since springs share load and leaving one behind tends to mean a second repair soon. The written estimate sets the final price and is agreed before work begins. Call (833) 508-9230 for a free estimate.
It shouldn’t. On repair work, the price is quoted and agreed before any work starts. If a technician discovers something that wasn’t visible during the estimate, they should tell you and get your approval before doing it – not add it to the invoice. Ask for a written estimate on the front end and you’ll know exactly what you’re paying.
We connect you with independent local professionals who are licensed and insured as the state requires. Our technicians have up to 13 years of experience, and they’re familiar with the eight major brands installed across Richmond – LiftMaster, Chamberlain, Genie, Clopay, Amarr, Wayne Dalton, Craftsman, and Raynor. Call (833) 508-9230 with questions about a specific system.
Often yes. A door that won’t close usually has a sensor alignment issue, a track problem, or an opener fault – all repairable in a single visit. We offer same-day service with fast dispatch from 7am to 7pm, and emergency garage door service when a broken door creates an access or security issue. Call (833) 508-9230 and we’ll get you scheduled.
The Bottom Line
The DIY-versus-professional decision for garage doors comes down to one question: does the repair touch stored mechanical energy? If yes, it’s professional. If no, most homeowners can handle it with the right parts and an hour. Richmond’s housing stock and climate make the answer slightly different on every block – older extension springs in the Fan, newer torsion systems in Henrico, humid summers that eat weatherseals – but the physics are the same everywhere. Handle what you’re equipped for, call a professional for what you’re not, and always ask for the written estimate before anything starts.
Richmond Garage Door Repair Co works on the equipment already in your garage, from the opener motor to the door panels, and we give repair-first advice before anyone suggests a replacement. Our technicians have up to 13 years of experience, and we’re certified familiar with eight major door and opener lines. Whether the job is a spring snap, an opener swap, or a full door replacement, the team at Richmond Garage Door Repair Co treats it as one system, not two. Call (833) 508-9230 for a free estimate – repairs, installation, and emergency service are all in scope, and the price is agreed in writing before any work starts.
Written by the team at Richmond Garage Door Repair Co.